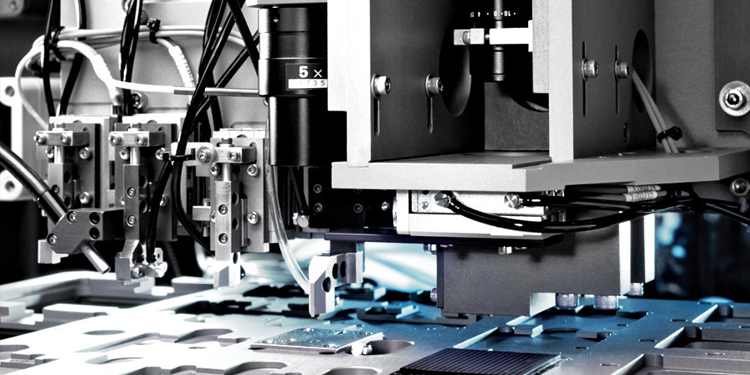
Advanced vision solutions enable manufacturers to realize improved process and product quality and system performance. Through various techniques, equipment and algorithms, ATS Automation uses experienced machine vision engineering capabilities to enhance system performance. Our vision staff are dedicated to providing the best solution for your specific needs. Whether the vision systems are used to guide a robot, confirm the success of a process, or verify the quality of a component before an action is taken or after the action is completed, you can be assured that your system has been designed to use the most appropriate lighting, optics, cameras and software.
Driving Quality and Process Automation
Through various techniques, equipment and algorithms, we use experienced machine vision engineering capabilities to enhance systems to their full potential. By implementing well-designed vision systems, machine process control and feedback is enhanced to provide the data needed to automate most processes.
No two vision systems are the same and our highly experienced vision engineering staff is dedicated to providing the best solution for your needs. We have a dedicated department of more than a dozen vision engineers whose only duty is to design and develop the machine vision needs for all of our automation systems.
Whether the vision systems are used to guide a robot into mating position with some tooling, or inspect surface finish quality of an incoming part, you can be sure the system has been fully designed to use the best lighting, optics, cameras and software required for your project.

Quality Inspection
The use of machine vision to provide quality inspection within our systems can fall into three categories:
- Defect Detection
- Tolerance Monitoring
- Component Measurement
Defect Detection
Defect detection refers to the automatic inspection of customer parts looking for potential defects. Defects can be cosmetic or affect product functionality. Some defect detection examples include:
- Suture edge sharpness and cut angle
- Glass vial cracks
- Particulate matter
Tolerance Monitoring
A good quality system uses as much feedback as it can to keep the process in control. Machine vision inspection systems can be critical in monitoring process related tolerances and allowing the associated control systems to adjust for those trending towards boundary conditions. Typical vision tolerance monitoring systems we have implemented include:
- Temperature monitoring by way of IR heat signatures
- Final part positioning against set datums
- Punch wear cycles based on cut edge quality and shape
Component Measurement
Many products produced by our automation have stringent specifications on the dimensions and shape of their constituent components. Our vision systems are widely used to ensure that the components our automation is assembling are acceptable, or else they are rejected before even entering the process.
Some typical measurements might be:
- Plastic molded short shot detection
- Component color check
- Tube fill levels
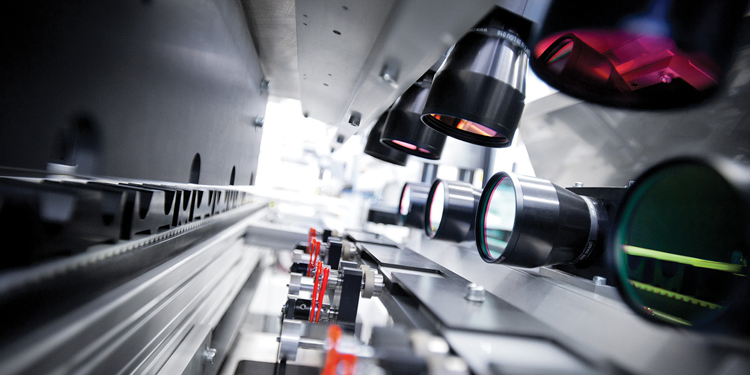
Process Automation
While some inspection vision systems provide feedback data to the customer about their product quality and process capability, other vision systems are routinely implemented to assist the automation equipment itself to perform the duties it was designed to undertake. These systems can be expanded into these three areas:
- Alignment feedback and robot guidance
- Part presence and orientation
- Barcode traceability and print verification
Alignment Feedback and Robot Guidance
When assembling components into a larger product, it is often necessary to align one part with another prior to insertion or attachment in some way. Machine vision systems can easily provide the alignment systems with the positional feedback they require to make sure the components fit together in the proper manner. We implement vision feedback and robot guidance into almost every system we produce. Some examples include:
- Incoming suture position for robot pick from conveyor
- Lens rotation for clocking process
- High accuracy die placement
Part Presence and Orientation
As parts and components are handled with our automation, various checks and balances are used to ensure no parts or tooling are handled in a manner that is damaging. Many different sensor systems are utilized for this purpose, but machine vision systems are employed when difficult sensing applications arise, such as for:
- Incoming part orientation for flip station
- Package content detection and verification
- Vial stopper presence
Barcode Traceability and Print Verification
It is very important for pharmaceutical and medical device traceability to be maintained during the assembly and inspection of devices. Through the use of dedicated vision inspection systems, barcode and print detection and verification can be used to provide this traceability. We have extensive capabilities in this area, such as:
- Label Print verification via OCR and OCV
- 1D and 2D barcode read
- Barcode quality grading
